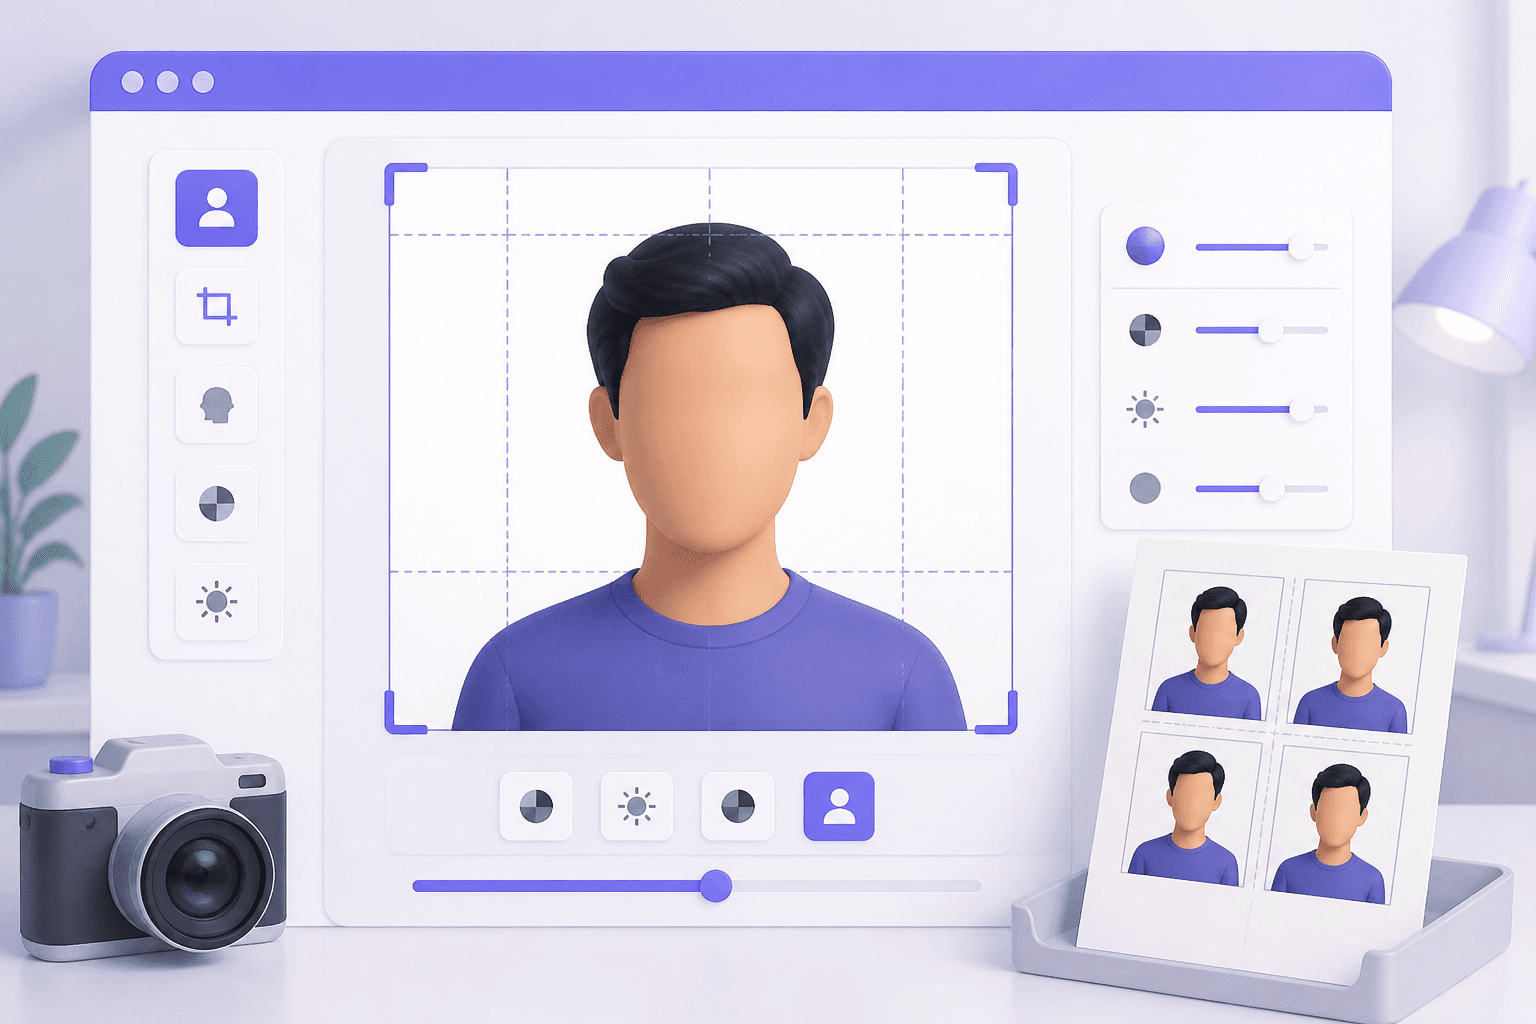
Start with the official requirements
A passport or visa photo looks simple, but small differences in dimensions, head position, background, expression, and image quality can lead to rejection. The correct rules depend on the country, document type, application method, and sometimes the applicant's age.
Before taking or editing a photo, open the issuing authority's official website. Write down the required physical or pixel dimensions, background colour, recency limit, head-size guidance, file format, and maximum file size. Treat online summaries and tool presets as convenient starting points—not as a replacement for current official instructions.
EveryFileTool's Passport Photo Maker can crop and export a photo using common size presets. It cannot confirm eligibility or guarantee acceptance, so the final comparison remains important.
What you need before taking the photo
- A phone or camera that can capture a clear, sharp image
- Soft, even light from the front
- A plain background that already matches the authority's rules
- Enough distance to avoid wide-angle facial distortion
- The current photo specifications from the official source
Ask another person to take the picture if possible. A rear phone camera placed around eye level generally produces a more natural result than a close handheld selfie. Stand far enough away to include the head, shoulders, and some empty background so there is room to crop.
How to take a passport-style photo at home
1. Prepare a plain background
Use a clean wall or backdrop in the required colour. Remove frames, switches, patterns, and visible texture from the shot. Do not assume an editor can safely replace a poor background later; some authorities restrict digital alterations.
The Passport Photo Maker does not remove the photographed background. Its background control fills the output canvas, but a normally cropped photograph covers that canvas. Begin with the correct real background rather than relying on the control to repair it.
2. Set up even lighting
Face a large window or use two similar lights placed to the front-left and front-right. Avoid a bright ceiling light that creates eye-socket shadows. Move away from the wall if your head casts a hard shadow behind you.
Do not use beauty filters, portrait blur, skin smoothing, or automatic face reshaping. If the lighting is uneven, retake the photo rather than heavily editing the face.
3. Position the camera correctly
Keep the lens at roughly eye level and parallel to the face. Look straight at the camera with the head upright. Use a normal camera mode, not a wide-angle lens at close range. Leave space above the hair and around the shoulders for cropping.
4. Follow expression and clothing rules
Many authorities request a neutral expression, open eyes, and a closed mouth, but requirements vary. Check rules for glasses, head coverings, uniforms, jewellery, hair, and visible ears. Medical or religious exceptions may have specific instructions.
Take several versions. Small differences in focus and posture are easier to compare on a larger screen than while shooting.
How to size the photo online
1. Open the Passport Photo Maker
Visit the Passport Photo Maker and select the clearest photograph. The processing runs in your browser.
2. Choose a size preset carefully
The tool includes common presets such as 2 × 2 inches, 35 × 45 mm, 33 × 48 mm, and 50 × 70 mm. A familiar country label does not remove the need to verify the current specification. Select the dimensions that match the official page for your exact application.
3. Adjust the zoom
Use the zoom control to position the head and shoulders inside the output. The tool centres the image, so choose a source photo that is already straight and reasonably centred. If the source needs a more deliberate crop, prepare it first with the Image Cropper.
Check that no hair or part of the head is clipped, there is appropriate headroom, and the shoulders remain visible where required. If the authority publishes a head-height range, measure the finished image against that guide rather than judging by appearance alone.
4. Download the JPG
The tool exports a high-quality JPG at the selected preset dimensions. Keep the original photograph and save the prepared version with a clear filename. Do not repeatedly edit and resave the JPG, because repeated lossy saves can reduce detail.
Common photo sizes are not universal rules
Different documents can request different sizes even within the same country. Online and printed applications may also have separate requirements.
| Example preset | Output shape | What to do before using it |
|---|---|---|
| 2 × 2 inches | Square | Confirm the application requires a square photo and check head-size rules |
| 35 × 45 mm | Portrait | Verify background, face height, and digital pixel limits |
| 33 × 48 mm | Portrait | Confirm the document and application channel use these dimensions |
| 50 × 70 mm | Portrait | Check the current authority page and photographer guidance |
The preset controls overall dimensions. It does not evaluate biometric rules, pose, shadows, facial proportions, recentness, or whether digital editing is allowed.
Final checks before submitting
Review the finished image at 100% size and answer these questions:
- Is the face sharp, evenly lit, and free from motion blur?
- Is the head straight and centred with the required expression?
- Does the real background meet the specified colour and shadow rules?
- Are the overall dimensions and head size within the official limits?
- Is the file type and file size accepted by the application portal?
- Does the image avoid prohibited filters, retouching, and background manipulation?
- Was the photo taken within the permitted time period?
If a portal requires a smaller file, use the Image Compressor gently and inspect the face afterward. Do not sacrifice sharpness merely to reach an unnecessarily low size. If it requires exact pixel dimensions not covered by a preset, use the Image Resizer only when that complies with the authority's instructions.
Mistakes that commonly cause problems
Using an old or altered portrait
The photo should represent your current appearance. Filters, AI-generated facial details, reshaping, and aggressive retouching can make the image unsuitable even if its dimensions are correct.
Cropping too tightly
Cutting off hair, the chin, or shoulders leaves no room to meet placement rules. Capture a wider source image and crop down deliberately.
Photographing a printed photo
A photo of another photo can introduce glare, texture, blur, and perspective distortion. Use the original digital image when online submission is allowed.
Trusting a country label without checking
Requirements change, and different visas or IDs may not share the same passport specification. Confirm the authoritative instructions for the actual application.
Assuming background replacement is automatic
The tool does not isolate a person from the existing scene. Take the original against the correct background. If an authority permits background editing, use an appropriate editor and inspect edges carefully—but never assume such editing is accepted.
Frequently asked questions
Can an online tool guarantee that my passport photo will be accepted?
No. Acceptance depends on the current rules and review process of the issuing authority. Always compare the finished photo with its official guidance.
What size should a passport photo be?
There is no universal size. Requirements vary by country and document, so use the preset only after confirming the dimensions on the authority's official website.
Does the Passport Photo Maker remove the background automatically?
No. Start with a photo taken against the required plain background. The tool crops, sizes, and exports the image but does not replace a photographed background.
Should I edit my face or remove shadows?
Avoid filters and appearance-changing edits. Retake the photo with even lighting when possible, and follow the authority's rules on retouching.
Prepare the file, then verify it
A reliable passport-photo workflow has two parts: make a clean, correctly framed file, then compare it with the issuing authority's current rules. Use the Passport Photo Maker for common output dimensions and browser-based export, but rely on the official application guidance for acceptance requirements.