Introduction
Image compression is one of the most impactful optimizations you can make for any website, blog, or digital project. Whether you are a web developer, a content creator, or simply someone who regularly shares images online, understanding how to reduce file size without sacrificing visual quality can save bandwidth, improve page load speeds, and enhance the overall user experience.
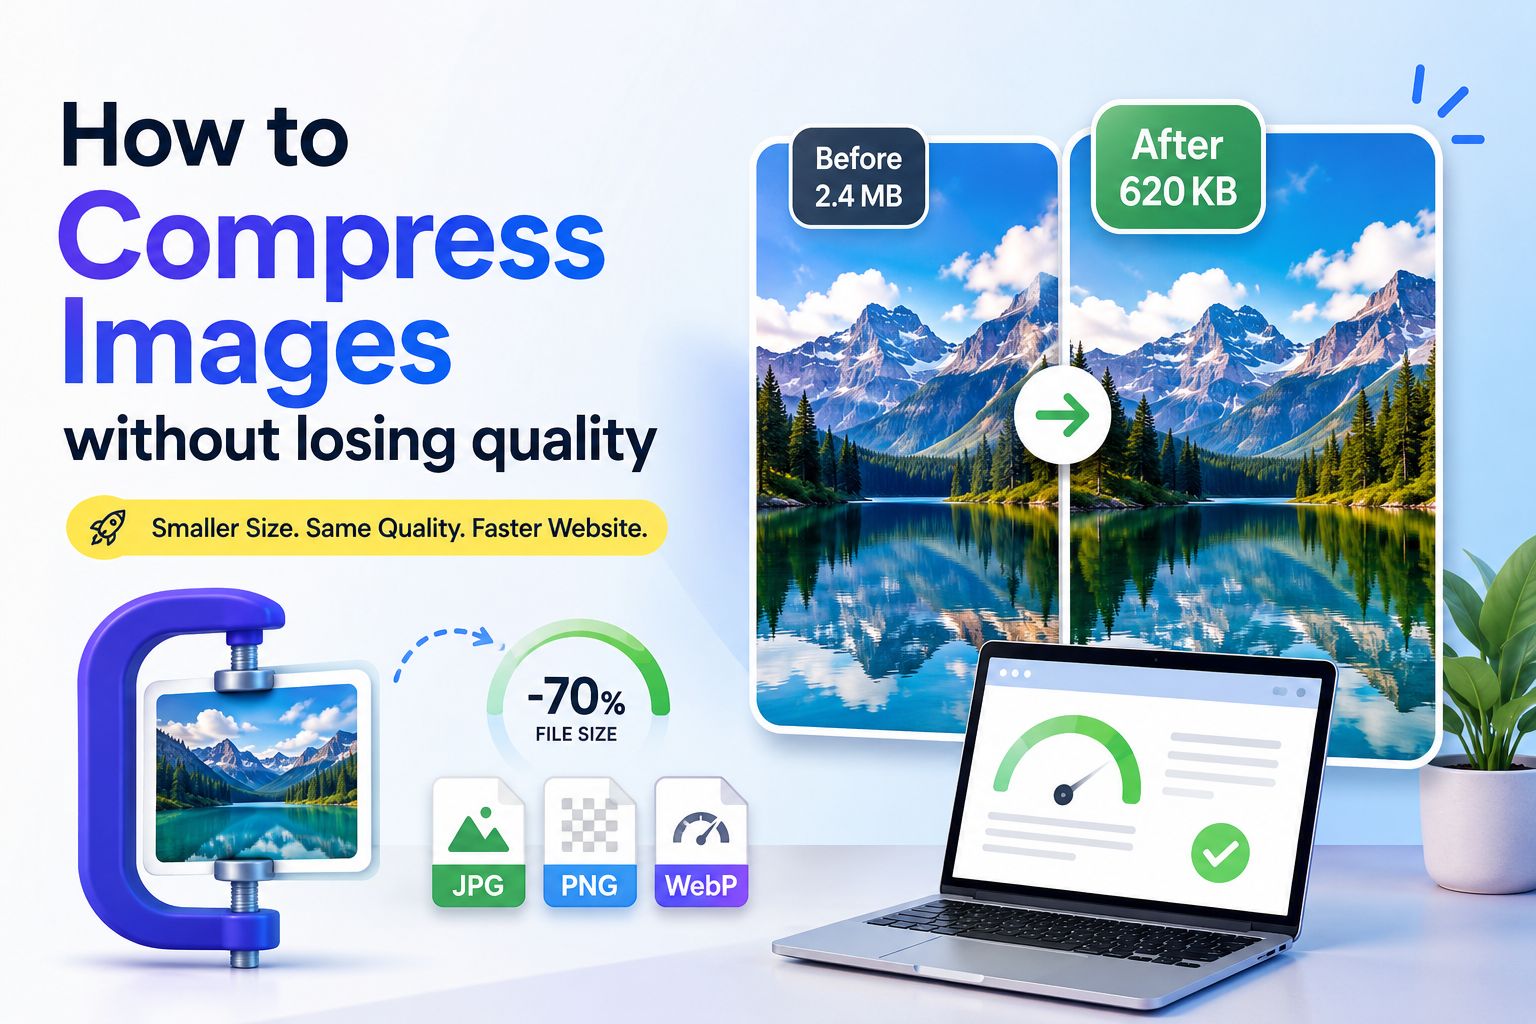
The good news is that you do not need expensive software or advanced technical knowledge to compress images effectively. With the right tools and a clear understanding of how image compression works, you can reduce file sizes by 50–80% with virtually no visible difference in quality.
In this complete guide, we will walk you through everything you need to know - from choosing the right file format to following a step-by-step compression workflow - so you can optimize every image with confidence.
Why Image Compression Matters
Image compression is not just a technical nice-to-have - it has a direct impact on real-world results across multiple areas:
Page Speed and SEO Rankings
Google has confirmed that page speed is a ranking factor. Large, uncompressed images are the single biggest cause of slow web pages. According to HTTP Archive data, images account for over 60% of the average web page's total weight. Compressing images can dramatically improve your Core Web Vitals scores, particularly Largest Contentful Paint (LCP), which measures how quickly the main content of a page loads.
User Experience
Studies consistently show that users abandon pages that take longer than three seconds to load. On mobile connections - which are often slower - uncompressed images make the problem worse. Smaller image files mean faster loads, lower bounce rates, and happier visitors.
Storage and Bandwidth Costs
If you run a website, every byte counts. Hosting providers and CDNs charge for bandwidth. Compressing your images before uploading reduces storage usage and can meaningfully lower your monthly hosting bill, especially at scale.
Accessibility and Global Reach
Many users in developing regions browse on limited data plans. Sending them a 4 MB photo when a 400 KB version looks identical is wasteful and exclusionary. Compressed images make your content accessible to a wider, more global audience.
The bottom line: image compression is free performance, and there is almost never a good reason to skip it.
Best Image Formats for Compression
Choosing the right format before you compress is the single most effective step you can take. Different formats use different compression algorithms and are suited to different types of content.
JPG (JPEG)
JPG uses lossy compression, meaning some image data is permanently discarded to reduce file size. It is ideal for:
- Photographs and realistic images with complex colour gradients
- Images where a small reduction in detail is acceptable
- Web images where transparency is not required
JPG files can be compressed aggressively (quality settings of 70–80%) with minimal visible degradation on photographs.
PNG
PNG uses lossless compression, preserving every pixel exactly. It is best for:
- Logos, icons, and illustrations
- Screenshots with text
- Any image that requires a transparent background
Because PNG is lossless, it tends to produce larger files than JPG for photographs. However, tools like PNG quantization can reduce PNG sizes by up to 70% while keeping transparency intact.
WebP
WebP is a modern format developed by Google that supports both lossy and lossless compression. On average, WebP files are:
- 25–35% smaller than equivalent JPG files
- 25–50% smaller than equivalent PNG files
WebP is now supported in all major modern browsers (Chrome, Firefox, Safari, Edge) and should be your default choice for web images in 2026. You can convert any JPG or PNG to WebP instantly using the Image Converter.
AVIF
AVIF is the newest image format with even better compression than WebP. Browser support is growing but not yet universal. Use it as a progressive enhancement where supported.
Quick Format Decision Guide
| Content Type | Best Format |
|---|---|
| Photograph for web | WebP (fallback: JPG) |
| Logo with transparency | WebP or PNG |
| Screenshot with text | PNG |
| Animated image | WebP (fallback: GIF) |
Step-by-Step Image Compression Guide
Follow this workflow to compress any image effectively:
Step 1 - Determine the Display Size
Before doing anything else, identify the maximum size at which your image will be displayed. A photo that appears at 800 pixels wide on your website does not need to be 5,000 pixels wide. Uploading oversized images and letting the browser scale them down wastes every byte of that extra resolution.
Use the Image Resizer to resize your image to the exact dimensions it will be displayed at. This alone often reduces file size by 60–70% before any compression is applied.
Step 2 - Convert to the Right Format
If your image is a photograph or complex graphic intended for the web, convert it to WebP. Open the Image Converter, upload your file, select WebP as the output format, and download. The conversion runs entirely in your browser - your files are never uploaded to a server.
If you are working with logos or images that need transparency, keep PNG but proceed to Step 4 for compression.
Step 3 - Apply Compression
Upload your resized image to the Image Compressor. Start with a quality setting of 75–80% for photographs. Compare the compressed version side by side with the original:
- If you cannot see any difference, try lowering quality to 65%.
- If you notice obvious artefacts or blurring, raise quality to 85%.
For most web images, a quality setting between 70 and 80 hits the sweet spot - files are 50–80% smaller with no perceptible quality loss.
Step 4 - Verify the Result
Before replacing your original file, verify the compressed version:
- Open the compressed image at full size in your browser.
- Check text, edges, and fine details for artefacts.
- Check the file size - aim for under 200 KB for most web images and under 100 KB for thumbnails.
Step 5 - Use Descriptive File Names and Alt Text
This step is often overlooked but is critical for SEO. Rename your compressed file using descriptive keywords (e.g., blue-leather-wallet-product-photo.webp instead of IMG_4829.jpg). When you add the image to your website, always include an alt attribute describing the image content.
Step 6 - Automate for Future Images
If you regularly publish images, build compression into your workflow. Set up a folder where every image goes through the Image Compressor before being uploaded. Consistency compounds over time - a site with 500 optimized images loads significantly faster than one where only a handful were compressed.
Common Mistakes to Avoid
Even experienced users make these mistakes. Here is what to watch out for:
Compressing an Already-Compressed Image
Running a JPG through a lossy compressor multiple times introduces generation loss - artefacts accumulate with each pass. Always compress from the original source file, not a previously compressed version. Keep your originals in a separate folder.
Ignoring the Format
Compressing a PNG photograph at 80% quality will always produce a larger file than a WebP version of the same image. Format selection has more impact on final file size than compression settings.
Over-Compressing
Setting quality too low (below 50%) creates obvious artefacts - blurry edges, colour banding, and blocky shadows. The goal is the smallest file size at which the image still looks good, not the absolute smallest file size possible.
Not Resizing First
Compressing a 5000×3000 pixel image to display at 600×400 pixels is inefficient. Always resize first, then compress. You will get much better results at much smaller file sizes.
Skipping Alt Text
Alt text is not optional. It is required for accessibility and is read by search engine crawlers. Every image you publish should have a meaningful, descriptive alt attribute.
Frequently Asked Questions
Does compressing an image reduce its quality permanently?
Lossy compression (JPG, WebP in lossy mode) does permanently remove some data. However, at quality settings of 70–80%, the difference is invisible to the human eye in normal viewing conditions. If you keep your original file, you can always re-compress at a higher quality setting later.
What is the best quality setting for web images?
For photographs: 70–80% quality in WebP or JPG. For graphics and text-heavy images: use lossless PNG or lossless WebP. The Image Compressor lets you choose your quality level interactively.
How small should my images be?
As a general target:
- Hero images: under 400 KB
- Blog images: under 200 KB
- Thumbnails: under 80 KB
These are guidelines - what matters most is that the image looks good at its display size.
Can I compress images in bulk?
Yes. The Image Compressor supports batch processing - upload multiple files at once and download all compressed versions together.
Is it safe to compress images online?
With EveryFileTool, all image compression runs directly in your browser. Your files are never sent to any server and never leave your device. You can even disconnect from the internet after the page loads and the tool will still work.
Will compressing images affect my Google rankings?
Not directly - Google does not rank pages lower because an image was compressed. In fact, the opposite is true: smaller images improve page speed, which is a confirmed ranking factor. Properly compressed images help your SEO.
Conclusion
Image compression is one of the highest-impact, lowest-effort optimizations available to anyone who publishes content online. By choosing the right format (WebP for most web images), resizing to actual display dimensions, and applying quality settings in the 70–80% range, you can cut image file sizes by 50–80% with no visible quality loss.
Start with the Image Compressor - it is free, runs in your browser, and processes files of any size. Your site visitors, your hosting bill, and your search rankings will all benefit.