Introduction
You have the perfect photo - a product shot, a portrait, a logo, a pet - but the background is getting in the way. Maybe it is cluttered, the wrong colour, or you simply need the subject on its own so you can drop it onto a clean white listing, a marketing banner, or a transparent overlay. Whatever the reason, you want the background gone.
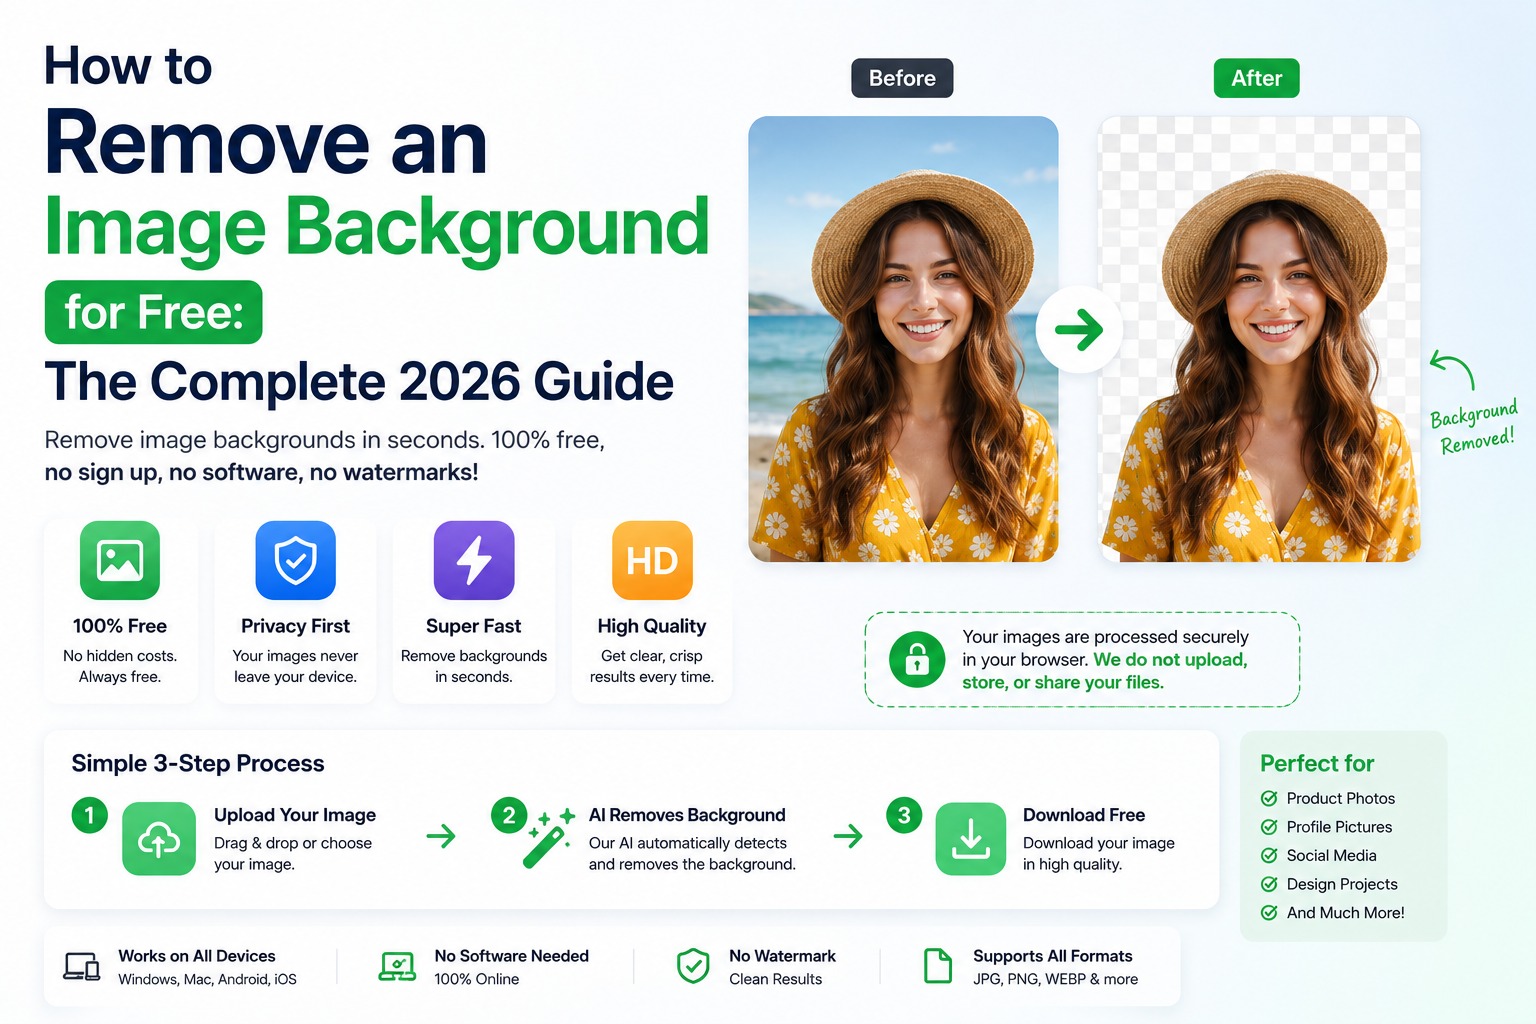
For years, removing a background meant opening Photoshop, learning the pen tool, and spending twenty minutes carefully tracing around hair and edges. Today you do not need any of that. Modern AI can detect the subject of a photo and erase everything behind it automatically - in a single click, for free, and without sending your private photos to a stranger's server.
In this complete guide, we explain what "removing a background" actually means, when you want a transparent PNG versus a solid colour, exactly how to remove a background for free in your browser, and how to get clean edges every time.
What Does "Removing a Background" Actually Mean?
When you remove a background, you are separating the subject (the person, product, or object you care about) from everything behind it. The software identifies the edges of your subject and deletes every pixel outside them, leaving the subject floating on its own.
What replaces the old background depends on what you choose:
- Transparency - the area behind your subject becomes see-through. This is stored in a PNG file, which supports an alpha (transparency) channel. You can then place the subject on any colour or image.
- A solid colour - useful for ID photos, product catalogues, and marketplaces that require a plain white background.
- A new background image - you can composite your subject onto a completely different scene.
The key file format here is PNG, because JPG cannot store transparency. If you remove a background and save as JPG, the transparent area fills in with white. To keep a truly transparent background, always export as PNG.
Why Remove an Image Background?
Background removal is one of the most common photo-editing tasks, and it powers a surprising number of everyday projects.
Product Photos for Online Selling
Marketplaces like Amazon, eBay, and Etsy reward - and sometimes require - clean white or transparent backgrounds. A consistent set of products on a pure background looks professional and converts better. Removing the background lets you standardise every listing.
Logos and Branding
A logo with a white box around it looks amateurish when placed on a coloured header or a photo. A transparent PNG logo sits cleanly on any background, which is exactly what you need for websites, watermarks, and presentations.
Profile Pictures and Portraits
Cut yourself out of a busy photo and drop yourself onto a clean colour for a LinkedIn headshot, a team page, or an avatar.
Marketing Graphics and Thumbnails
Designers constantly need subjects "cut out" so they can be layered into banners, social posts, and YouTube thumbnails. A transparent subject is the building block of almost every composite graphic.
Passport and ID Photos
Many official photos require a plain background. Removing the existing background and replacing it with the required colour is far easier than re-shooting against a blank wall. For exact sizing, pair this with a dedicated Passport Photo Maker.
Fun and Creative Edits
Stickers, memes, scrapbooks, invitations - once a subject is on a transparent background, you can place it anywhere.
Transparent PNG vs Solid Background: Which Do You Need?
| You want to… | Choose | Save as |
|---|---|---|
| Place the subject on any colour or image | Transparent background | PNG |
| Meet a marketplace's white-background rule | Solid white background | PNG or JPG |
| Make a logo usable on any header | Transparent background | PNG |
| Create an ID or passport photo | Solid colour background | JPG |
| Layer the subject into a design | Transparent background | PNG |
The rule of thumb: if you ever plan to put the subject on a different background, keep it transparent and save as PNG. You can always flatten it onto a solid colour later, but you cannot recover transparency once it has been baked into a JPG.
How to Remove an Image Background for Free (No Software)
The fastest, most private way to remove a background is with a browser-based tool that runs the AI directly on your own device. The Background Remover does exactly that - it detects your subject and erases the background without uploading your photo to any server.
That privacy point matters. Many "free" background removers upload your image to a remote server, process it there, and send it back. For personal portraits, ID photos, or unreleased product shots, that is a real privacy concern. A browser-based remover keeps your image on your machine from start to finish.
Step-by-Step: Remove a Background
Step 1 - Open the tool
Go to the Background Remover. There is nothing to download and no account to create - it runs entirely in your browser.
Step 2 - Add your image
Click Choose file or drag your photo onto the upload box. JPG, PNG, and WebP all work. For best results, pick an image where the subject is reasonably distinct from the background.
Step 3 - Let the AI do the work
The tool automatically detects the main subject and removes everything behind it. The first time you use it, the AI model loads in your browser, which takes a few seconds; after that, processing is quick.
Step 4 - Review the edges
Check the cutout, especially around hair, fur, and fine detail. Good lighting and contrast in the original photo produce the cleanest edges.
Step 5 - Download your transparent PNG
Download the result as a PNG with a fully transparent background, ready to drop onto any colour, image, or design.
Tips for the Cleanest Possible Cutout
The AI does the heavy lifting, but the quality of your original photo makes a big difference. Follow these tips for crisp edges:
Use Good Contrast
The subject should stand out from the background. A dark jacket against a dark wall is hard for any tool to separate; the same jacket against a light wall is easy.
Avoid Busy Backgrounds
A plain or evenly lit background gives the cleanest result. Cluttered backgrounds with objects close to the subject can confuse the edge detection.
Mind the Hair and Fur
Wispy hair and fur are the hardest edges to cut out. Soft, even lighting helps the AI find each strand. Avoid harsh shadows that blur where the subject ends and the background begins.
Start With a High-Resolution Image
More pixels mean more detail for the AI to work with, and a sharper edge in the final cutout. If your result looks soft, try a larger version of the original.
Shoot Against a Contrasting Backdrop When You Can
If you are taking the photo yourself - for products especially - shoot against a plain backdrop that contrasts with the subject. It makes removal almost flawless.
What to Do After Removing the Background
Once you have a transparent PNG, you can take it further:
- Resize it to the exact dimensions you need with the Image Resizer - handy for marketplace size requirements.
- Convert it to another format with the Image Converter if a platform needs WebP or a specific type.
- Compress it with the Image Compressor to shrink the file before uploading to a website, without a visible quality drop.
- Add a watermark with Add Watermark if you are sharing original artwork or product photos publicly.
Common Mistakes to Avoid
Saving as JPG and Losing Transparency
This is the single most common mistake. JPG does not support transparency, so saving a cutout as JPG fills the background with white. Always save as PNG to keep the background transparent.
Uploading Private Photos to Unknown Servers
Most online background removers upload your image to their servers. For portraits, ID photos, or confidential product shots, that is a privacy risk you do not need to take. Use a tool that processes the image in your browser, like the Background Remover, so your photo never leaves your device.
Starting With a Low-Contrast Photo
If the subject blends into the background, even the best AI will struggle. When edges look rough, the fix is usually a better source photo - more contrast, better lighting - not more editing.
Expecting Perfect Cutouts on Wispy Hair
Fine hair and fur are genuinely difficult. The AI handles them remarkably well, but a few stray strands may be imperfect. For most uses this is invisible once the subject is placed on its new background.
Forgetting to Resize for the Destination
A 4000-pixel cutout is overkill for a 600-pixel marketplace thumbnail. Resize after removing the background so your file is the right size and loads quickly.
Frequently Asked Questions
Is it really free to remove an image background?
Yes. The Background Remover is completely free - no watermarks, no account, no limits, and no trial period. Remove as many backgrounds as you like.
Do I need to install Photoshop or any software?
No. The background removal runs entirely in your web browser using AI. There is nothing to download or install - it works on Windows, Mac, Chromebook, and mobile alike.
Are my photos uploaded to a server?
No. The tool detects the subject and removes the background on your own device using your browser. Your photo is never uploaded, stored, or seen by anyone. Once the page has loaded, it even works offline.
What file format should I save for a transparent background?
PNG. It is the standard format that supports transparency. If you save as JPG, the transparent area will be filled with white because JPG cannot store transparency.
Can I remove a background on my phone?
Yes. The tool works in modern mobile browsers on both iPhone and Android. Open the Background Remover, pick a photo from your gallery, and download the transparent PNG straight to your device.
Will it work on photos with hair or fur?
Yes. The AI is trained to handle hair, fur, and complex edges, and it does so well. Results are best when the original photo has good lighting and contrast between the subject and background.
Can I replace the background with a solid colour or another image?
After removing the background you get a transparent PNG, which you can place onto any solid colour or background image in your design tool. For sized ID photos with a plain background, the Passport Photo Maker is purpose-built.
Conclusion
Removing an image background used to mean expensive software and fiddly manual tracing. Today it takes one click. Whether you are cleaning up product shots, making a transparent logo, creating a polished profile picture, or building a marketing graphic, AI background removal gives you a clean cutout in seconds.
The free, browser-based Background Remover detects your subject automatically, produces a transparent PNG, and keeps your photo completely private by processing it on your own device. Pair it with the Image Resizer to hit exact dimensions and the Image Compressor to shrink the final file, and you have everything you need to cut out any subject - no Photoshop, no uploads, no cost.