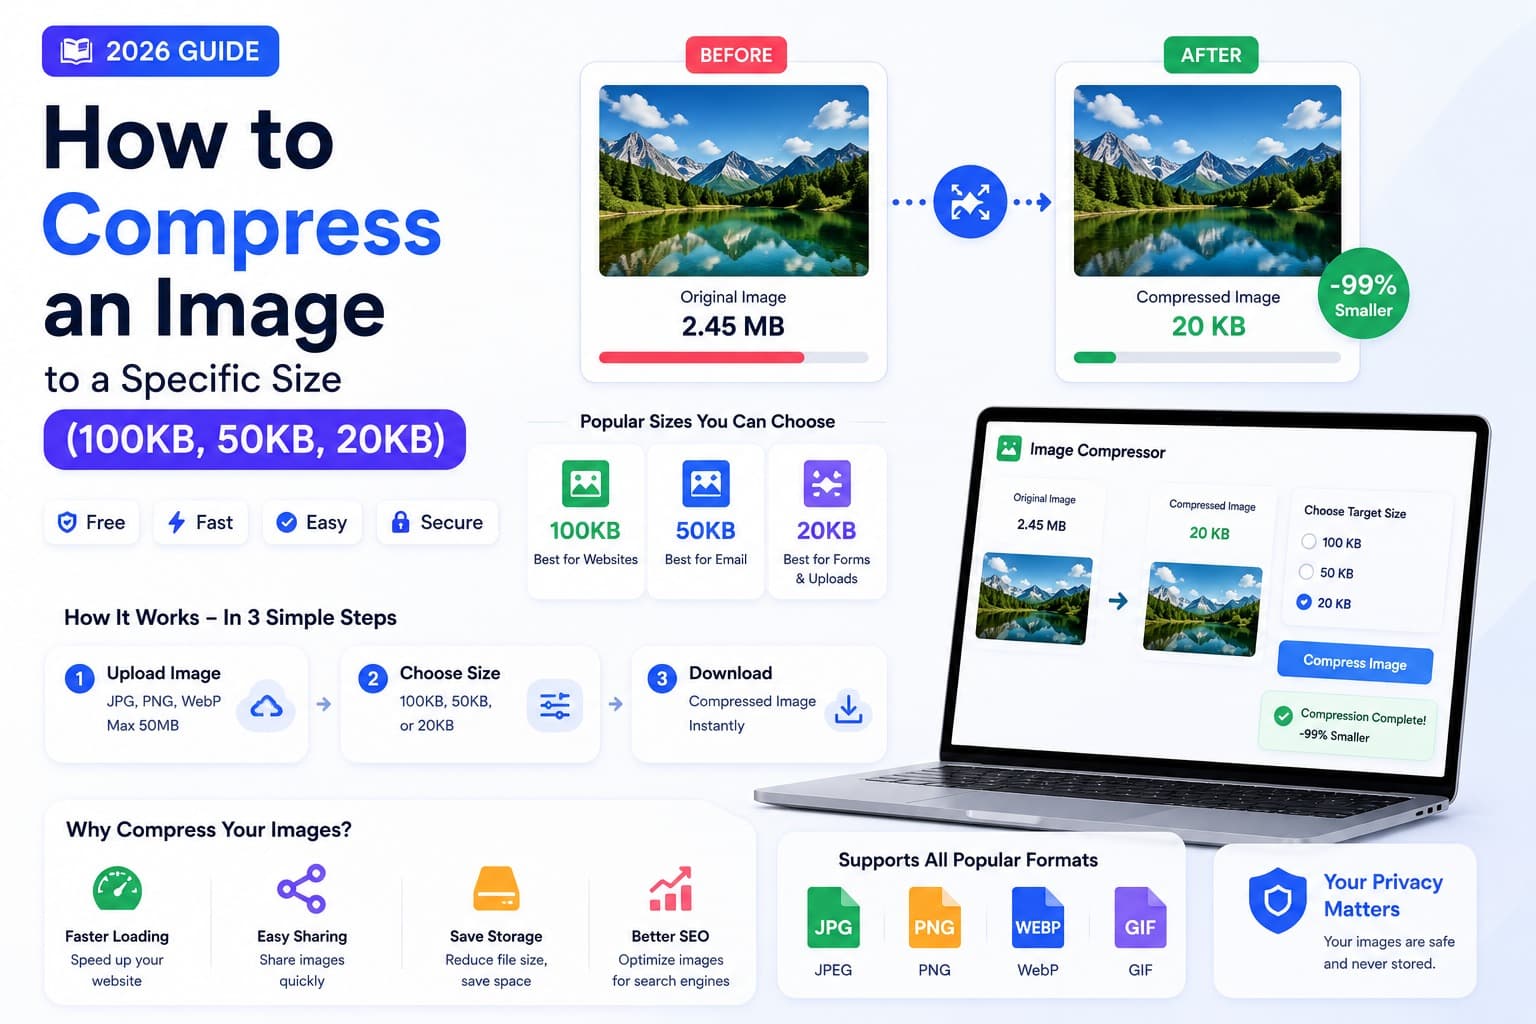
Introduction
You're filling in an online form — a job application, a university portal, a passport or visa site, an exam registration — and it stops you cold: "Photo must be under 100KB." Your image is 4MB, the form won't accept it, and you need a smaller copy that stays readable.
This is one of the most common file headaches there is, and it has nothing to do with general "make it smaller" advice. You need to get below a specific file-size limit without making the photo look terrible. This guide shows how dimensions and quality work together, and why the final encoded size is an approximation rather than an exact promise.
Just want the best-looking smaller image, without a hard size limit? See our companion guide, How to Compress Images Without Obvious Quality Loss. This article is specifically about working toward a size cap.
Why Forms Demand a Specific File Size
Those KB limits aren't arbitrary. Government portals, exam boards, and job sites handle millions of uploads, and they cap file sizes to:
- Keep their storage and bandwidth costs manageable
- Make pages load quickly for everyone
- Standardise documents for automated processing
The most common limits you'll run into:
- Passport / visa photos: often 20KB–50KB (sometimes up to 240KB)
- Job & exam application photos: typically 50KB–200KB
- Signature uploads: as small as 10KB–20KB
- General web forms: frequently under 1MB or under 2MB
The form rejects anything bigger, so you need to land at or just under the limit.
The Two Levers That Control File Size
To hit a target, you adjust two things — and understanding them is the whole trick.
1. Quality (Compression Level)
JPG compression has a quality setting (0–100%). Lowering it discards more data and shrinks the file. Going from 90% to 70% can roughly halve the size with little visible change; pushing below 50% starts to show blocky artefacts. This is your fine-tuning dial for hitting a precise KB number.
2. Dimensions (Resolution)
The pixel width × height. A 4000×3000 photo has ~12 million pixels; resizing it to 800×600 has under 0.5 million — a massive reduction before you even compress. This is your coarse dial: if you're far above the target, resize first.
The practical strategy is to resize to roughly the dimensions you need, then lower quality to work toward the required KB limit. Encoders cannot guarantee one exact byte count for every image.
How to Compress an Image to a Specific Size (Step by Step)
Open the dedicated Compress Image to 100KB tool. It makes a best-effort pass toward the target in your browser and reports the output size. Complex images may finish slightly above or below 100KB, so always check the downloaded result before submitting it.
Step 1 — Check the form's exact limit
Note the required size and any dimension or format rules (e.g. "JPG, 200×230px, under 50KB"). Hit those exactly.
Step 2 — Resize first if your image is large
If your photo is several megapixels but the target is tiny, open the Image Resizer and scale it down to a sensible size first (for a form photo, 600–1000px on the long edge is plenty). This alone often gets you most of the way there.
Step 3 — Compress and watch the output size
Open the 100KB image compressor, add your image, and process it. Check the resulting file size:
- Still above target? Lower the quality further, or go back and reduce the dimensions more.
- Well under target and looking soft? Raise the quality a little — there's no benefit to being far below the limit.
Step 4 — Aim just under the limit
If the cap is 100KB, aim for 85–95KB. Landing just under gives you the best possible quality while still passing the form's check.
Step 5 — Use JPG for photos
Photos compress far smaller as JPG than PNG. If your image is a PNG (or a screenshot), convert it with the Image Converter or PNG to JPG first — you'll hit tiny targets much more easily.
Step 6 — Verify and upload
Confirm the final file size meets the limit, then upload. Done.
Quick Target Cheat Sheet
| Target size | How to get there |
|---|---|
| Under 20KB | Resize to ~300–500px long edge, JPG, quality 60–75% |
| Under 50KB | Resize to ~600–800px, JPG, quality 70–80% |
| Under 100KB | Resize to ~1000px, JPG, quality 75–85% |
| Under 200KB | Light resize, JPG, quality 80–85% |
| Under 1–2MB | Often just compress at quality 80% — little or no resizing |
These are starting points — nudge quality up or down based on the live size readout.
Common Mistakes to Avoid
Compressing Without Resizing First
Trying to squeeze a 12-megapixel photo under 50KB with quality alone forces an ugly, over-compressed result. Resize the dimensions down first, then compress — you'll get a far cleaner image at the same size.
Uploading Private Documents to Unknown Servers
Form photos are often personal — ID pictures, signatures, certificates. Many "compress to size" sites upload your file to their servers. Use a tool that works in your browser, like the Image Compressor, so your document never leaves your device.
Using PNG for Photographs
PNG is lossless and stays large for photos. If a form needs a tiny photo, JPG will get you there far more easily. Convert with PNG to JPG first.
Overshooting Way Under the Limit
A 100KB limit doesn't mean make it 12KB. Going far below the cap throws away quality you were allowed to keep. Aim just under the limit.
Ignoring Dimension Rules
Some forms specify both a size and exact pixel dimensions (common for passport/visa photos). Use the Image Resizer to match the required dimensions, then compress to the KB target.
Frequently Asked Questions
Can I compress an image to exactly 100KB?
Use the Compress Image to 100KB tool for a best-effort result. Exact output is not guaranteed because image content and format affect encoding. If the result remains above the limit, reduce its dimensions and try again.
Is it free to compress an image to a specific size?
Yes. The Image Compressor is free to use, with no watermark or account required. Very large images are still limited by the memory available in your browser.
Is my photo uploaded to a server?
No. Compression runs entirely in your browser, on your own device. Your image is never uploaded or stored — ideal for ID photos, signatures and certificates.
Why can't I get my image small enough?
Usually because the dimensions are still too large. Quality alone can only do so much — resize the photo to fewer pixels first (e.g. 600–800px) with the Image Resizer, then compress.
Should I use JPG or PNG to hit a small size?
JPG, for photos. It compresses dramatically smaller than PNG. Convert PNGs or screenshots with PNG to JPG before compressing to a tiny target.
Will compressing to a small size ruin the quality?
If you resize sensibly first and aim just under the limit, the photo still looks good. Problems only appear when you force a large, full-resolution image into a tiny size using quality alone.
What size should a passport or visa photo be?
It varies by country, but many require 20KB–50KB at specific pixel dimensions (e.g. 600×600). Check your portal's exact rule, match the dimensions with the Image Resizer, then compress to the KB target.
A reliable way to hit a file-size limit
Hitting an exact file size isn't about one magic setting — it's about using two levers in the right order: resize the dimensions to do the heavy lifting, then lower the quality to fine-tune down to the precise KB, aiming just under the limit so you keep as much quality as the form allows.
The browser-based Compress Image to 100KB tool searches for a useful result near the target without uploading the file. Pair it with the Image Resizer when a portal also specifies dimensions, and use PNG to JPG when a photographic PNG remains too large. Always verify the downloaded size against the destination's rule.